The weather over the weekend was glorious and full of spring’s promise. As previously mentioned, I took advantage and dove headlong into my early spring to-do list. In a typical spring I charge straight into these chores and make mention of them in passing, but rarely get into the nity-gritty of my process here. This is probably because I am usually either already writing about it for another publication, or I worry about boring you to tears. But I know that these details are the sort of information that many new gardeners crave, so this year I hope to help fill in some of those gaps.
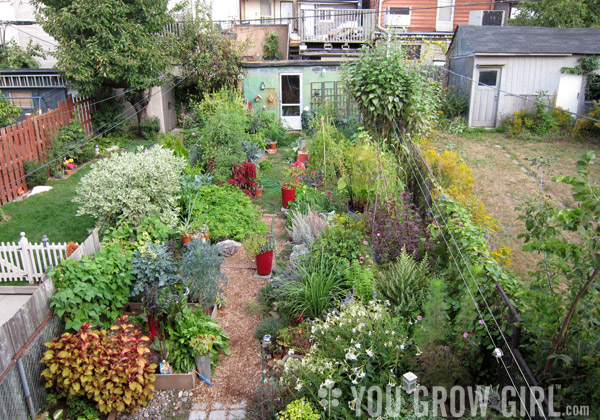
My garden in its first year, Summer 2011. You can see the raised beds up the right hand side.
First a catch up on my garden: I have raised beds that expand the length of the right side of my garden. We built these as a way to deal with the sandy soil that is not very conducive to growing certain food crops, and to more easily level out a yard that sloped sharply towards the house and to the right side.
We built the beds using wood that we already had on hand. Some was good hardwood that will last for some time, and some were cheap boards that will probably have to be replaced in a few years. My philosophy is buy the best or most long-lasting materials you can afford if or when you can afford it. Otherwise, make do. That said, this will be our fourth spring here and so far all of the boards are holding up.
Soil Erosion
I’ve had raised beds in a few different locations, none of which sat on top of a bed of sandy soil. I love my current location because the beds drain very well and I did not have to build deep walls to achieve this. However, despite my best effort, the soil sinks and erodes quite a bit over the winter. All of my raised beds have required a top-up of compost each spring. These beds tend to require more than I can produce in 2 bins. In the first and third years we bought a cubic yard of well-composted duck manure to amend the soil because what it needed more than anything was organic matter and good nutrition. This year I have managed to top up most of the raised beds using compost from our largest bin and am still contemplating where I will source what I need to top up the remaining beds.
Further Amending
Last year I began experimenting with mycorrhizae aka root fungi, and this year I am continuing where I left off. My hope is that over time the organisms I am introducing to the beds will slowly help to alter the soil’s tilth, without the need for such a dramatic yearly top-up of organic matter. Please note that I still expect to add organic matter, just not in the quantity that I do here. With past raised beds I was able to limit soil amending to side dressing as long as I took measures to prevent erosion.
Last year I added MycoMinerals Ultimate Organic Soil Amendment by Bio-Organics to some of the beds, and Maximize Microbes and Minerals by John and Bob’s to others. This year I’ve gone and added Maximize to all beds because I forgot which beds received which product. So much for experimentation. Instead, I’ve been reserving the MycoMinerals for my potted plants and seedlings.
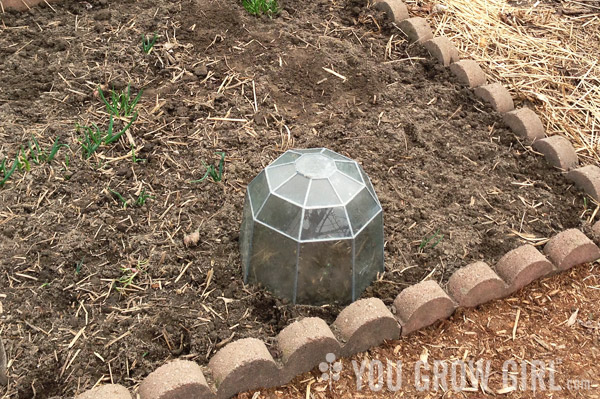
We built this bed over the weekend using concrete edging that our neighbour didn’t want. FREE! Timing was perfect because I was in need of something to raise up the sides of that part of the garden for better vegetable growing.
Covering Raised Beds
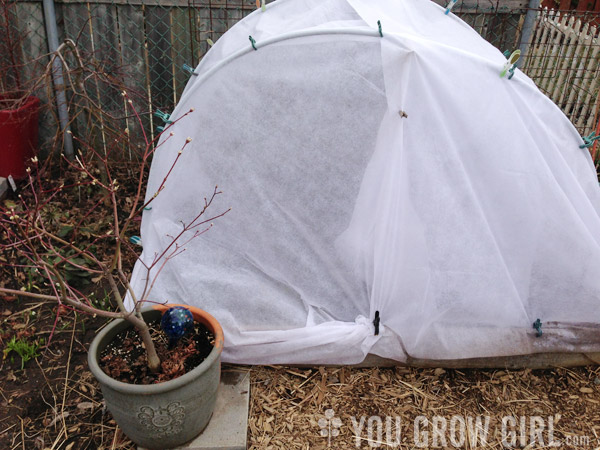
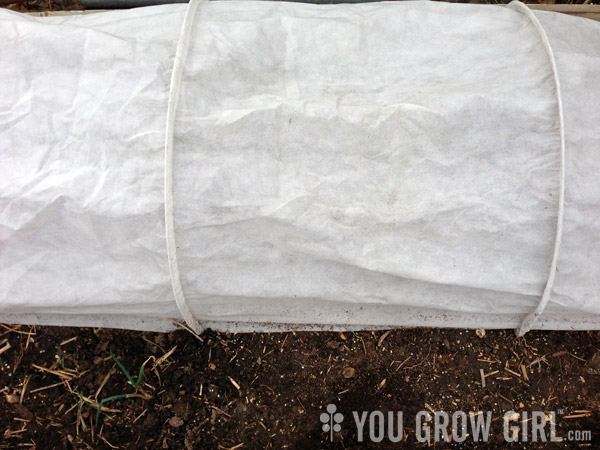
I cover my raised beds with varying materials, depending on the season and use. In this case I wasn’t really interested in cold protection, but in protecting my freshly sown seed from those dastardly digging squirrels!! In this garden it is virtually impossible to direct sow seed without protecting it in some fashion. I’ve tried a variety of methods with varying degrees of success. The cover shown at the top of this page was made using PVC pipes that fit into slots formed by larger PVC pipes that are bolted onto the inside of the raised bed frame. The cover I used was cheap fabric row cover that I bought for $2 a pack that is clipped onto the hoops and the base using clips that I purchased at a hardware store.
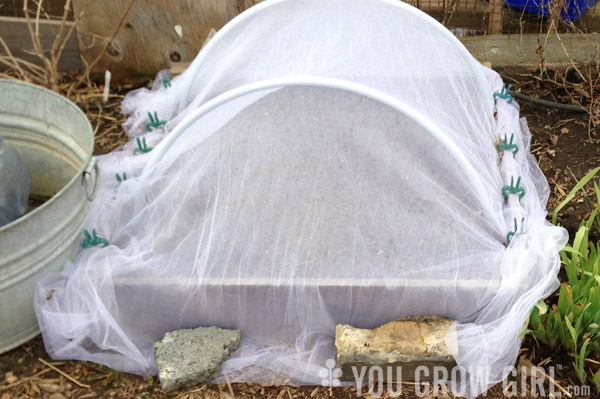
The raised bed in the photo just above this paragraph is a small one that doesn’t require much support. I made it using a piece of PVC piping leftover from the large raised bed that was cut in half. Over that I draped a thin wedding veil-like material that I bought at a thrift store that is held down with vine clips (bought at the dollar store) and bricks. Both fabrics are breathable allowing the seeds to be watered by spring rains. It works like a charm and cost just a few bucks to make! Most of the materials have been used over a few seasons so it only becomes more cost effective over time.
I bought this row cover with metal hoops years ago from Lee Valley. It doesn’t seem to be available anymore. I don’t like its length for smaller, urban gardens — I’d prefer that it came in sections. However, the metal works well and the contraption has held up through several seasons of use.
Disclosure: Bio-Organics was a year-long sponsor of this website in 2013. John and Bob’s provided their Maximize product to for testing, but are not site sponsors. My current Publication Policy is available here.
What’s the story behind the adorable cloche pictured in the raised bed with concrete edging?
Thrift store purchase. I currently have it sitting over some mustard seedlings.
Have you tried probiotics? I am trying it for the first time this year on the soil (found a product called Pro-Bio Balance) and will be using it for young fruit trees as a foliar spray. It’s also supposed to introduce beneficial organisms into the garden.
I had not heard of a probiotic garden product, but I suspect that this is not something that I would need as I do things like make herb and compost teas that encourage the growth of a range of beneficial organisms.
Despite my best efforts I lost two tomato plants due the ice storm we had the other night … so I look at the bright side … time to go plant some more seeds :)
You have done so much with such a small space! Very Wonderful!
This is some awesome info and tips (i’ve got a bunny in my backyard that seems to think my spring seedlings are a buffet line!) Thank you :D
I feel very fortunate that I do not have bunnies. They are voracious eaters.
Thanks for posting these details, especially some of the ways to do amazing things on the cheap. This is my first year for raised beds and I used Patricia Lanza’s “lasagna gardening” techniques. We’ll have to see whether that has an impact on soil erosion. Our Kansas soil is clay rather than sand, and I wonder if that makes a difference.
Soil conditions in Toronto vary depending on your location. Prior to this I have always had clay soil. With clay, erosion tends to be off the top during the winter months and caused by wind. For that reason I always have something in the ground to help hold it in.