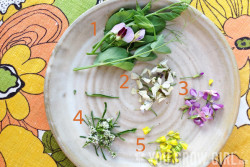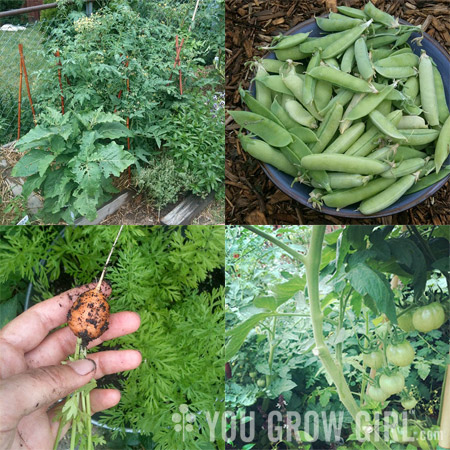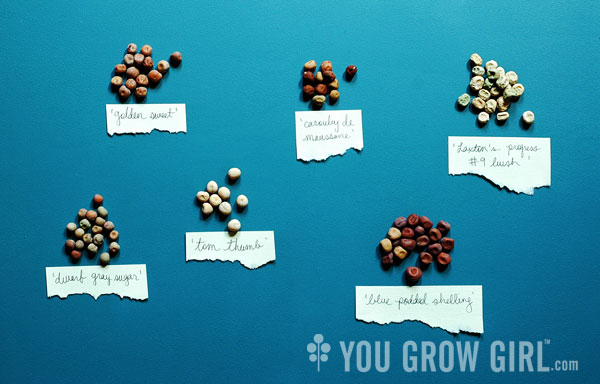
Fresh Peas in August
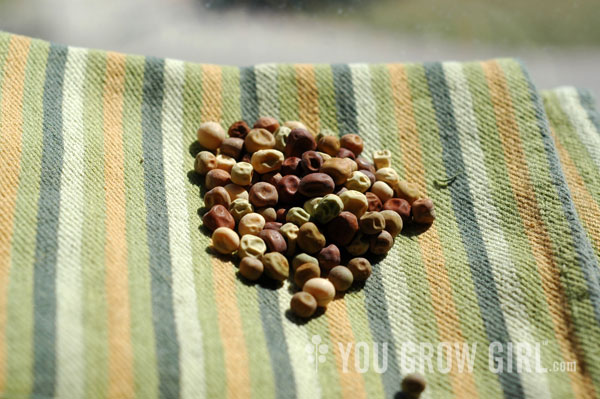
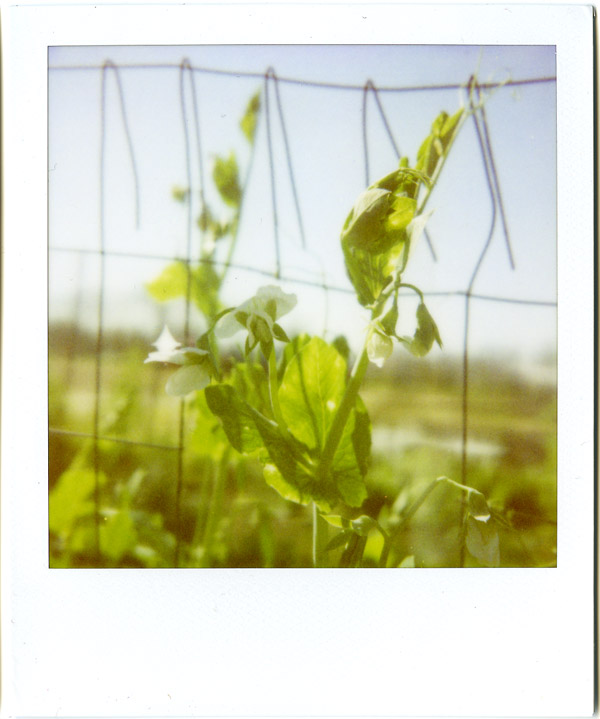
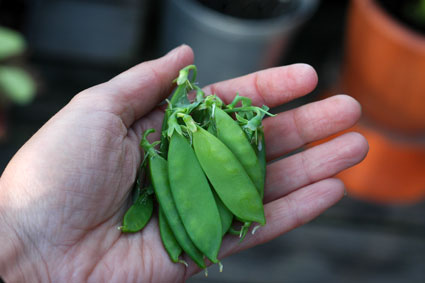
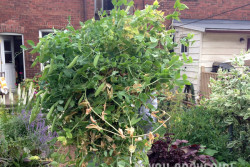
It must be noted for the sake of remembrance that on August 11, 2014, I pulled out what remained of this year’s pea plants. I could have let them go longer. These are the same peas that I sowed in April. 4 months ago! This is by far the latest I have ever kept the …