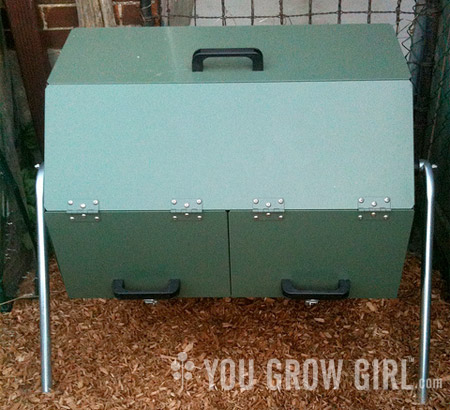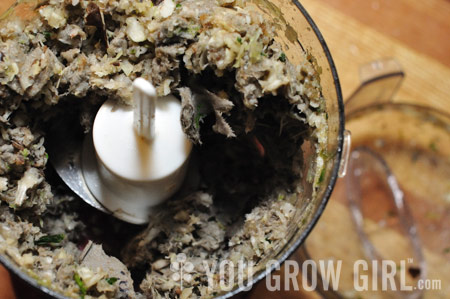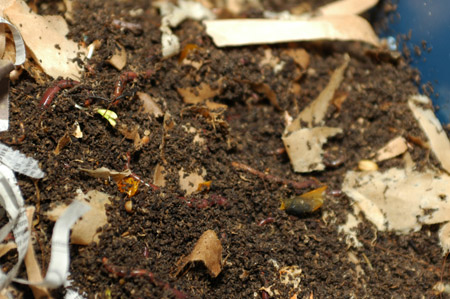
Tumbling Composter Update
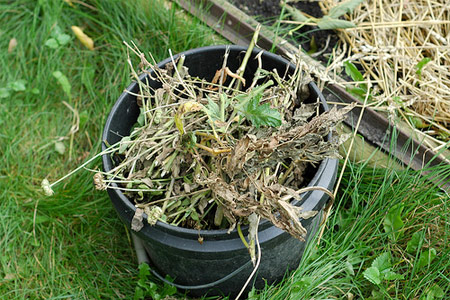
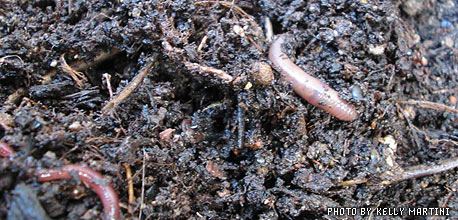
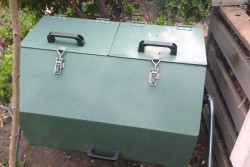
Three years ago the sustainable living company Eartheasy sent me the Jora JK125 Tumbling Composter to try out in my garden. This weekend we emptied and moved the contraption from a shady corner against the house to a newly cleared spot beside a composting bin that we built from an old futon frame. I posted …