Why I Love This Time of Year
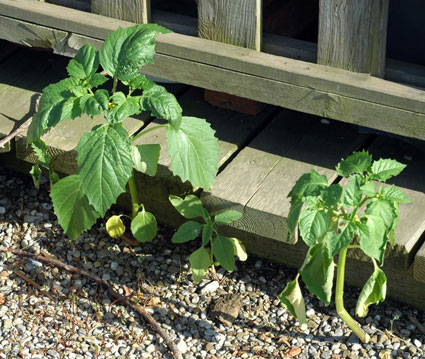
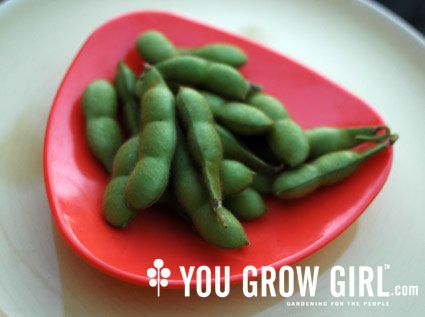
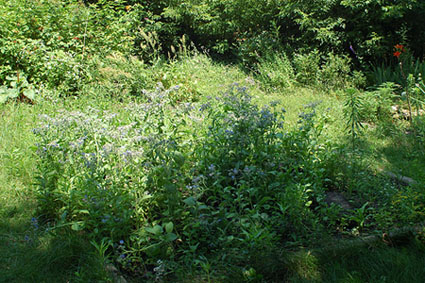
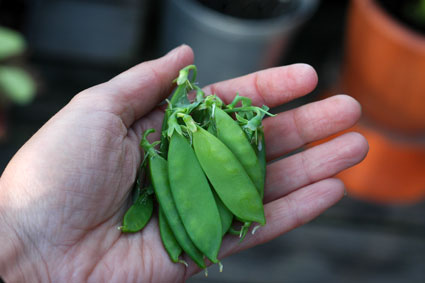
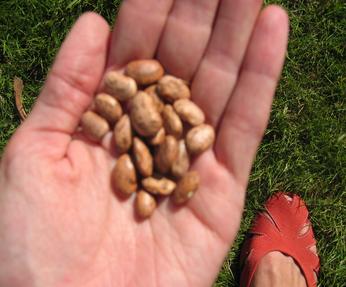
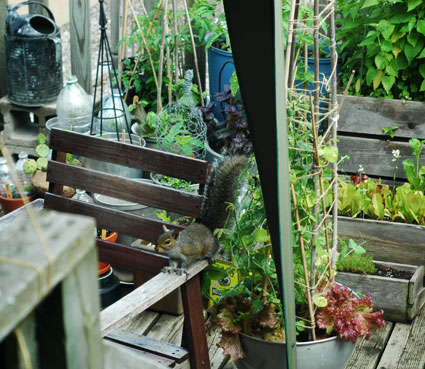
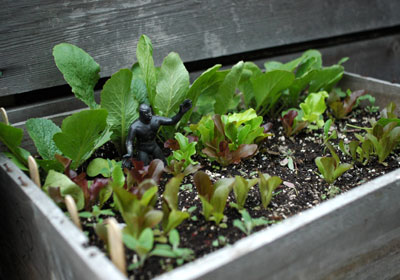
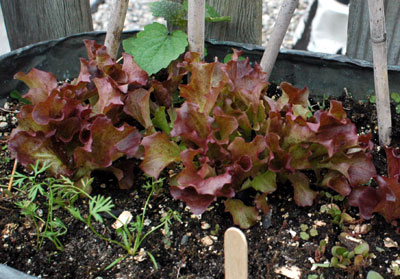
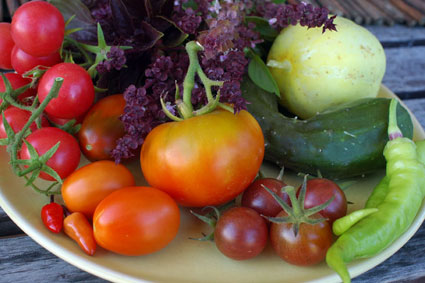
Click here to see variety names. I have been in love with my rooftop garden this past month. Every meal includes something picked fresh from the garden that morning – there’s a bowl of fresh produce on the counter everyday! This is what I love about the harvest season (besides all of the eating). No …