Project The Best and Most Ass Kicking the Roof Garden Has Ever Been, EVER 2008
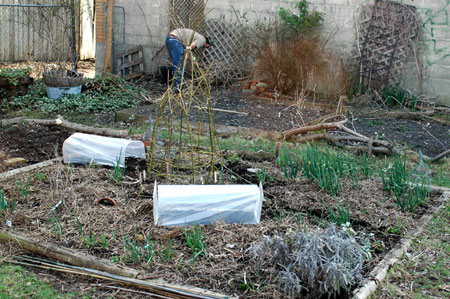
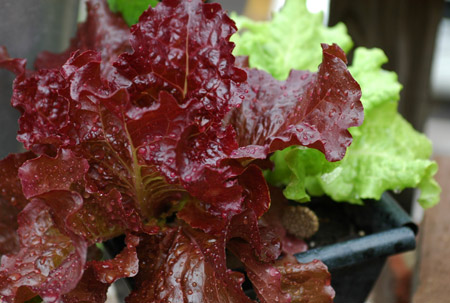
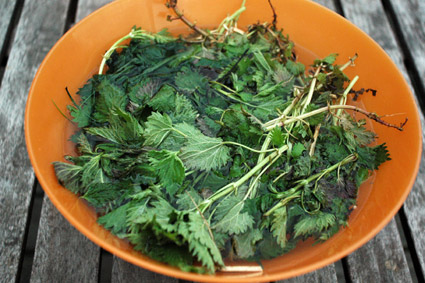
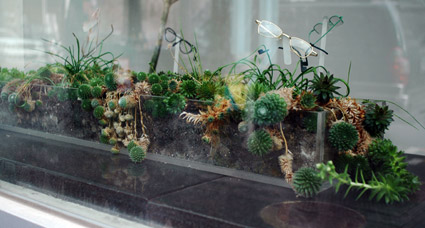
While the street garden and the community garden plot are both merrily on their way the roof is a disaster. I started an assortment of edibles a while back amidst the chaos with the intent of organizing it, and then didn’t. When the local television stations starting calling about coming to shoot the garden for …