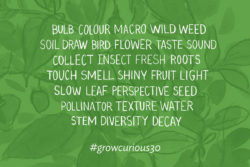
#growcurious30 Day One: Taste
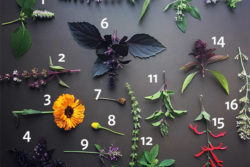
I chose TASTE as my prompt for the first day. My original plan was to choose a handful of different basil varieties and make comparisons between the flavours of the different flowers as a way to get to know them better. However, once I was out in the garden I found myself tempted by several …